Friday, August 1, 2014

Stairs - Just Deux It!

This is part II in the story of our stair treads.  Part one can be read HERE.

Oh man, I get the sweats just thinking about this project.

After loading all of the beams into the garage I drove home and got an average night sleep, woke up and stood in 100 degree heat at a swim meet for 6 hours, and then drove to Spicewood to begin the real punishment.

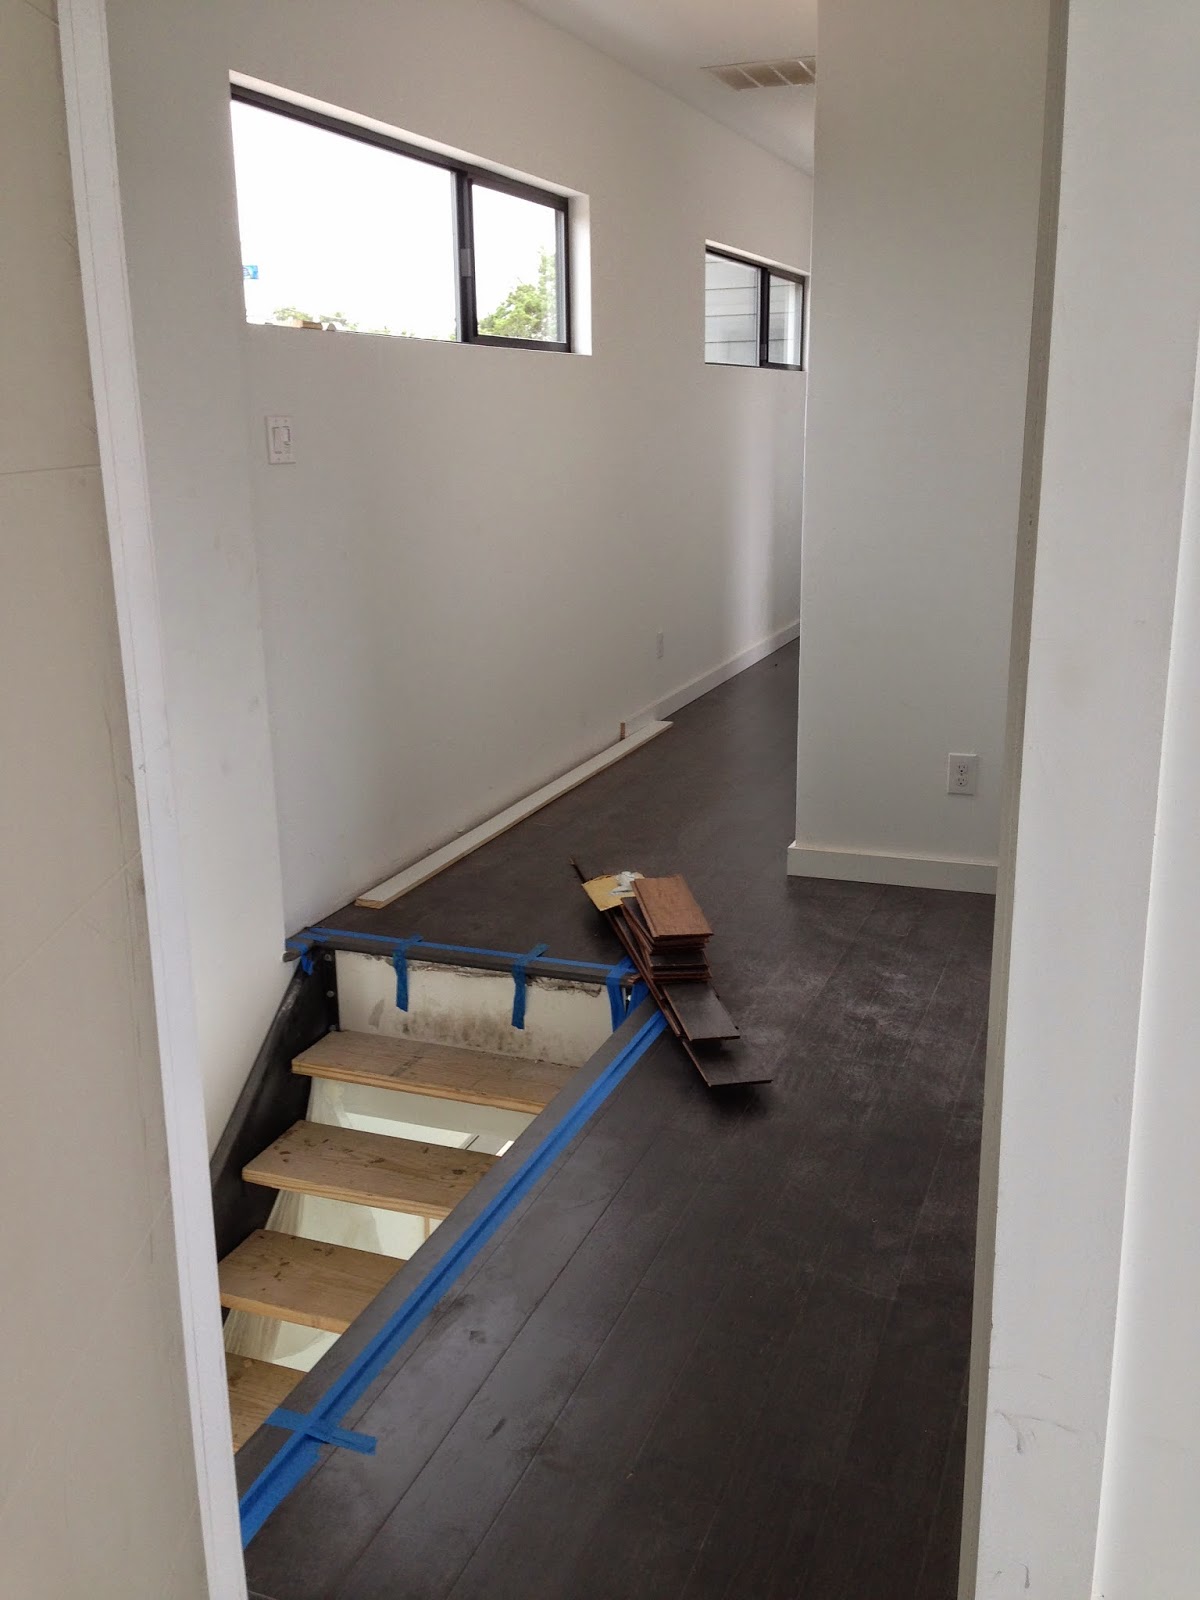
Step one was to take the raw planks and cut them down to the appropriate length.  You may recall the staircase still has temporary treads in place so I decided to simply work my way up to the second floor.  I systematically removed a step, measured the span, cut the PSL beam and then dry-fit it into place.  Perhaps you are asking your computer screen, "why doesn't he just measure the width from left stringer to right stringer and cut all the treads to that width?".  And I would agree that is a logical plan, but believe it or not the width varies as you ascend the steps.  Partly due to some theta rotation of the stringer in relation to the floor.  And you will recall we tacked the left stringer to the wall to prevent swaying, and this made the center of the span slightly (.5") wider than the first and last treads.

The first step up to the landing was nearly 5 ft wide and you can see it in the picture below.  It weighed approximately 1 million pounds.  The reason why I know this is true is I made all of the cuts in the garage and then carried each tread into the house and placed it onto the steel brackets to make sure it fit.  By the time I got to the top of the stair case carrying each tread felt as though I was carrying a body across the yard and through the house.


Eventually I made it all the way up the stair case.  And that was enough for one weekend.  I removed each tread and wrote its location on each end of the board so I knew where it belonged, then carried everything back into the garage.  And then re-installed the temporary treads.   Time to go home, have a shower and a beer.  In fact, I recommend having a beer while you look at these pictures.  You may feel like you deserve it.

Raw beams set in place.

Landing platform is made from 5 beams edge to edge.

I just placed the upper treads on top of the temporary ones.  I didn't have a ladder with me to reach them.

The next weekend I returned fully recharged and with an orbital sander.  The mission for the weekend was to sand these babies down so they were smooth like butter.  I purchased a 6" orbital sander and a ton of sanding disks of descending grit.  Which reminds me, just based on my own Home Depot visit frequency in Q2 2014, you should buy some of their stock now.  The boards were rough so I started with 120 grit sand paper and hit them on all 4 sides.  The worst part was removing the factory inkjet markings from the edge.  It felt like trying to remove a tattoo with a feather duster.

The ink on the beam was difficult to remove.
The kids and Berta brought lunch and gave me a break which was nice.

The PSL is comprised of thousands of wood strands and glue put in a casserole pan and cooked until hard (or something like that).  Through the course of sanding some of the strands would break loose, or would poke above the surface like a prong.  So i would trim these off, fill the cracks and voids with wood putty, and sand it down when dry.  This added an extra day to the process but should save me hours of "splinter surgery" on the kid's feet.

The final step was finishing.  I chose to use a clear (colorless) polyurethane in satin finish.  This really enhanced the natural colors of the material, and should protect it for a long time.  Again, the catch with a stair project like this is all 4 sides need to be treated.  Which was a hassle with the sander, but a flat out PITA when applying the urethane.  I had to apply to the top and front edge, then let it dry for 8 hours before I could flip it over and coat the bottom and the back edge.  That has one coat, and I applied 4 coats.  After the first coat I hit all the surfaces with 220 grit paper to smooth it out again, but from then on it was just brushing on urethane and letting it dry. I placed the treads on strips of quarter-round molding to keep them off the floor while drying.

Here is a tread with the first coat of polyurethane on the right side.  


The final weekend was dedicated to installation.  Once more I started at the bottom, aligned the tread, clamped it to the stringer to prevent movement, drilled 6 pilot holes and then anchored it down with 2-7/8" HeadLok wafer-head spider screws (I loved these screws).  Of course, there were challenges along the way but I am pleased with the finished product.  Here are a bunch of pictures which should be worth a thousand words, or something like that...


You might notice the landing has the cut end of the tread exposed.  I had to sand and finish the ends, and they have a unique grain pattern which was a nice surprise. 


Thanks for stopping by.

Wednesday, July 16, 2014

Stairway to Heavin'

As we noted in earlier updates (aqui y aqui) we have a welded steel staircase with temporary treads in place.  The time has come for our staircase to lose it's baby teeth and get some sexy chompers.

Before putting in the treads we wanted to get the railings installed. The main reason for this was to minimize heavy traffic on the treads and reduce opportunity for damage.  Welding the rail to the stringers will throw some sparks, and some sweat, so best to keep the wood out of that equation.

The top rail was installed first and it only took a few minutes to discover a problem.  The bull-nose trim used where the bamboo meets the stairway is about 1/8" thicker than the floor.  This was not known when the welders designed the rail and the mounting plate was now half on the trim, with the other half hovering above the floor.  After the requisite grumbling and fussing the welder decided to fabricate thin steel plates to slide under the mounting foot and fill the gap (although I don't have pictures of the solution for you here!).  After that the stairway railing was welded into place and the stainless steel cables were routed and tightened.  Everything turned out nicely.

The cute toenail does not belong to the welder...

The upstairs rail mounted to the wall, and the foot plate is partially in the bull-nose trim


There was one other item we had the welder address.  The stairway is a long span (20 steps before hitting the landing) and when we tromped up and down it would develop a slight sway side to side.  This was solved by cutting a notch in the drywall, welding a small L-bracket onto the wall side stringer and bolting it to the stud.  This will be covered by the drywall crew when they come back for touch-up.  Test tromping confirmed the sway was neutralized.


Now, on to the wood.  What you are about to read is the story of man with marginal wood working experience (me) attempting to convert structural beams into stair treads.  The process took 4 weeks because I was only available on the weekends, and even then it was after Saturday swim meets and other commitments.   I would head out to the house by myself, and it was like a one man play without an audience.  I dished out drama, suspense, profanity, tears, laughter, madness.... for no one's benefit but my own.  Although the results were critically acclaimed by my kids, I don't think I have a future in finish carpentry.

The whole mess started with sourcing the wood.  The beams can be ordered in whole-foot lengths from a few feet to impressives spans like 60 feet.  I ordered mine in appropriate lengths that would fit in my truck and allow me to trim off rough ends as needed.  Once it arrived I went to the builder supply store and they brought it out with a giant fork truck.  It was palletized but wouldn't fit in the bed of my F150.  So we had to cut the straps and load the beams into the bed by hand.  This would prove to be one of dozens of times I would be handling these things.  I'll tell you now, this stuff is ridiculously heavy.  The spec claimed 13 lbs per linear foot.


So I loaded up the truck and moved to Beverly, Texas Hill Country, that is... And the next thing you know ol' Me was exhausted.  Rain was looming large so I hustled and stacked all this stuff in the garage before the deluge started.  This all happened on a Friday.  The next morning we joined all three kids at a swim meet, and then I went back to begin the metamorphosis from raw material to indoor furniture, and from construction ignorance to painful enlightenment.

 Check back in a couple days for Part Deux of the Stairway to Heavin'.


Monday, June 30, 2014

Totally Floored

I know we've not had many updates lately which is ironic because so much has been happening.  We have
had another switch-a-roo with the builder (yet another GC to manage the completion of the project).  And they have acknowledged that they could do a better job.  And finally, the actions are starting to back up the words.

Our target closing date is approaching fast and there is a lot of work left to do, and many problems that remain unsolved.  But they are tackling them all and that's all we ask.

So what should we discuss first...how about the upstairs flooring?

While we have had a firm vision for most of the house the upstairs flooring has always been a wildcard.  We kept our minds open to all options right up to the moment we had to decide.  The house is clean and simple downstairs without any soft surfaces so we considered putting in Sisal or carpet on the 2nd floor just to give us some new textures.  For a long time we were thinking of hardwood in the hallway and then using bright pops of color in each bedroom carpet.  After some investigation we were surprised how much carpet was and figured for the $$ we may as well just put in wood flooring.

We settled on a 5/8" strand woven Bamboo in a Ultra-low VOC finish.  The coloring is great - it's gray.  And the other thing that is nice is it's a click-lock application which chopped time and money off the install.

The upstairs flooring was another element of the house that was our responsibility which meant we had to get it delivered, in the house to acclimate, and then installed.  And this proved to be another character building exercise.  We ordered the bamboo from a warehouse in California so it was sent by LTL truck on a 5 day journey.  While this truck was bounding down the interstates towards Austin, Mother Nature decided after 2 years of hardly any rain, to let it rip.  It poured for 2 days.

Hard Rain.

Noah's ark kind of rain.

And when it stopped we had a 800' driveway more suited for mud bog racing than a tractor trailer.  If the truck tried to make it to the garage it would have never made it back out.  The next complication was the trailer showed up with 2500 lbs of bamboo on two pallets and didn't have a lift gate to get it off the truck.  By the way, I was at the office and Roberta was handling the delivery.  She was able to coerce the driver and a trim carpenter to unload it one box at a time and place it on the side of the road.  Then she called the company we hired to install the floor and asked them to bring a truck and  haul the wood in the house - best $50 we have spent to date.


A few days later I cracked open some boxes to check out the boards and they looked great.  The transition pieces were a little beat up and had color variations but it wasn't going to slow us down.


The installers had everything in place in just one day.  We're happy with the results.  Will post more pictures when everything is cleaned up.


One last comment.  Stranded bamboo is hard stuff.  We have horizontal bamboo in our current home and it doesn't take much to leave a mark.  The stranded bamboo we just installed will fold a nail in half if you try to pound it in!  Can you say 'Kid Resistant'?

Thanks for stopping by.

Friday, June 13, 2014

Tile

Still here.  Just busy.  Onward with the story...

Our builder's tile options weren't ringing our bell so we opted to purchase and supply the tile and grout ourselves.  We are only putting tile in the bathrooms so the task wasn't overwhelming. We wanted something contemporary in the master, and a good mix of modern and fun for the kids bath.  Let's begin in the master bath.

We are installing a walk in shower without a door enclosure. The shower area is "L" shaped which requires a custom built floor pan.  This involved creating a fiberglass shell and then covering it with concrete so it can accept the tile.


After the bathroom floor was covered with cement board the tile started going in.  We went with 12 x 24" smooth tile for both the floor and the shower wall.  Dark gray for the floor and light gray for the shower walls. Since this involved looking at color and shape options I will spare you, dear reader, from that drama.  For the floor of the shower, and inside the wall niches, we used dark gray penny tile.  We are quite happy with the results so far.


We chose and old-timey hexagon tile for the kids floor, with big ol' white subway tiles in the shower and for the sink backsplash.  We used penny in the knock outs.


I don't have any shots of the subway in the kids shower so I'll include that in a future post.

More to come.  Thanks for stopping by.

Thursday, May 1, 2014

The Tortoise and The Hare

The house (tortoise) continues to creep along.  The painters have finally returned and are almost done with interior and exterior paint.  The Grizzle Gray has been buried beneath 2 coats of Westchester Gray.  It is glorious and we're so glad we changed colors.
Grizzle Gray
Westchester Gray


The interior is painted Pure White (Sherwin Williams) and it is bright and crisp just as we hoped.  The painters will need to come back and hit the trim, shelving, and touch-up in a few weeks.  And beyond that there have been few other victories.  All of our interior doors have not arrived, and we have some issues with the sliding glass doors that a couple of guys are trying to figure out.  It has been a known issue for many months, and procrastination has finally run up against reality - this builder needs to quit avoiding the mistake and get it fixed.  The problem is with the framing, and also the foundation is slight wonky right where the aluminum frame rests on the slab. The solutions is still unidentified and they may need to re-frame the opening or purchase new doors.  This is a bummer.

We delivered all of the bathroom tile and grout 2 weeks ago, and the tile crew has been working this week to prep the floor, build a floor pan and get the tile installed.  And we have been asked to get all the light fixtures on site so the electrician can get them installed.  No problem, the pleasure is ours...

The pool (hare), on the other hand, is moving swiftly.  Gunite crew came out and shot the concrete in a day.  I couldn't be there but Roberta was, and she said it was amazing to see.  It took 5 trucks of concrete to finish it off.  The truck would arrive, they would blow the material into the frame and then it would leave to go to San Marcos for a refill.  They did this 5 TIMES.  That is a long day.  While the truck driver was wracking up mileage on central Texas freeways the crew would trowel the concrete into the appropriate shape.  Here is the result of their efforts.


Now that the concrete is curing we needed to go to the house every day for week and hose it down for 30 minutes.  Keeping the concrete wet slows the curing and yields a stronger structure.  The kids loved the job.


By the way, the yellow residue in the bottom of the pool is Live Oak tree pollen.  This time of year it's everywhere, and antihistamine sales are through the roof.

Thanks for stopping by.