
The railings were not installed for fear that they would be damaged by trades going up and down the staircase with boxes of tile, wood, tools, etc. Plus, the upper railing will bolt directly to the bamboo flooring after it is installed so waiting makes sense.


And as mentioned before we chopped up some 2x12's to use as temporary treads. Before we knew it, access to the second floor was once again available.

 |
| You can see one of the PSL treads on the left side of the landing. This will be the final tread material. |


Our plan is to run a long PSL beam under the horizontal window above. It will mount on the wall just beneath the receptacles on the wall. The beam will be 18" wide PSL and align with the 3rd tread, then extend to the right, stopping short of the front door. This will be a discrete work space that could host 3 kids working on home work...

Everything looks great, right? Not quite. Apparently there was some confusion during install (we weren't there) and everything didn't fit as well as it did in the weld shop. There were 2 issues. The first one was obvious to the welders during install. The second one would be discovered a couple days later when we were checking out the work. Here's the first problem:
 |
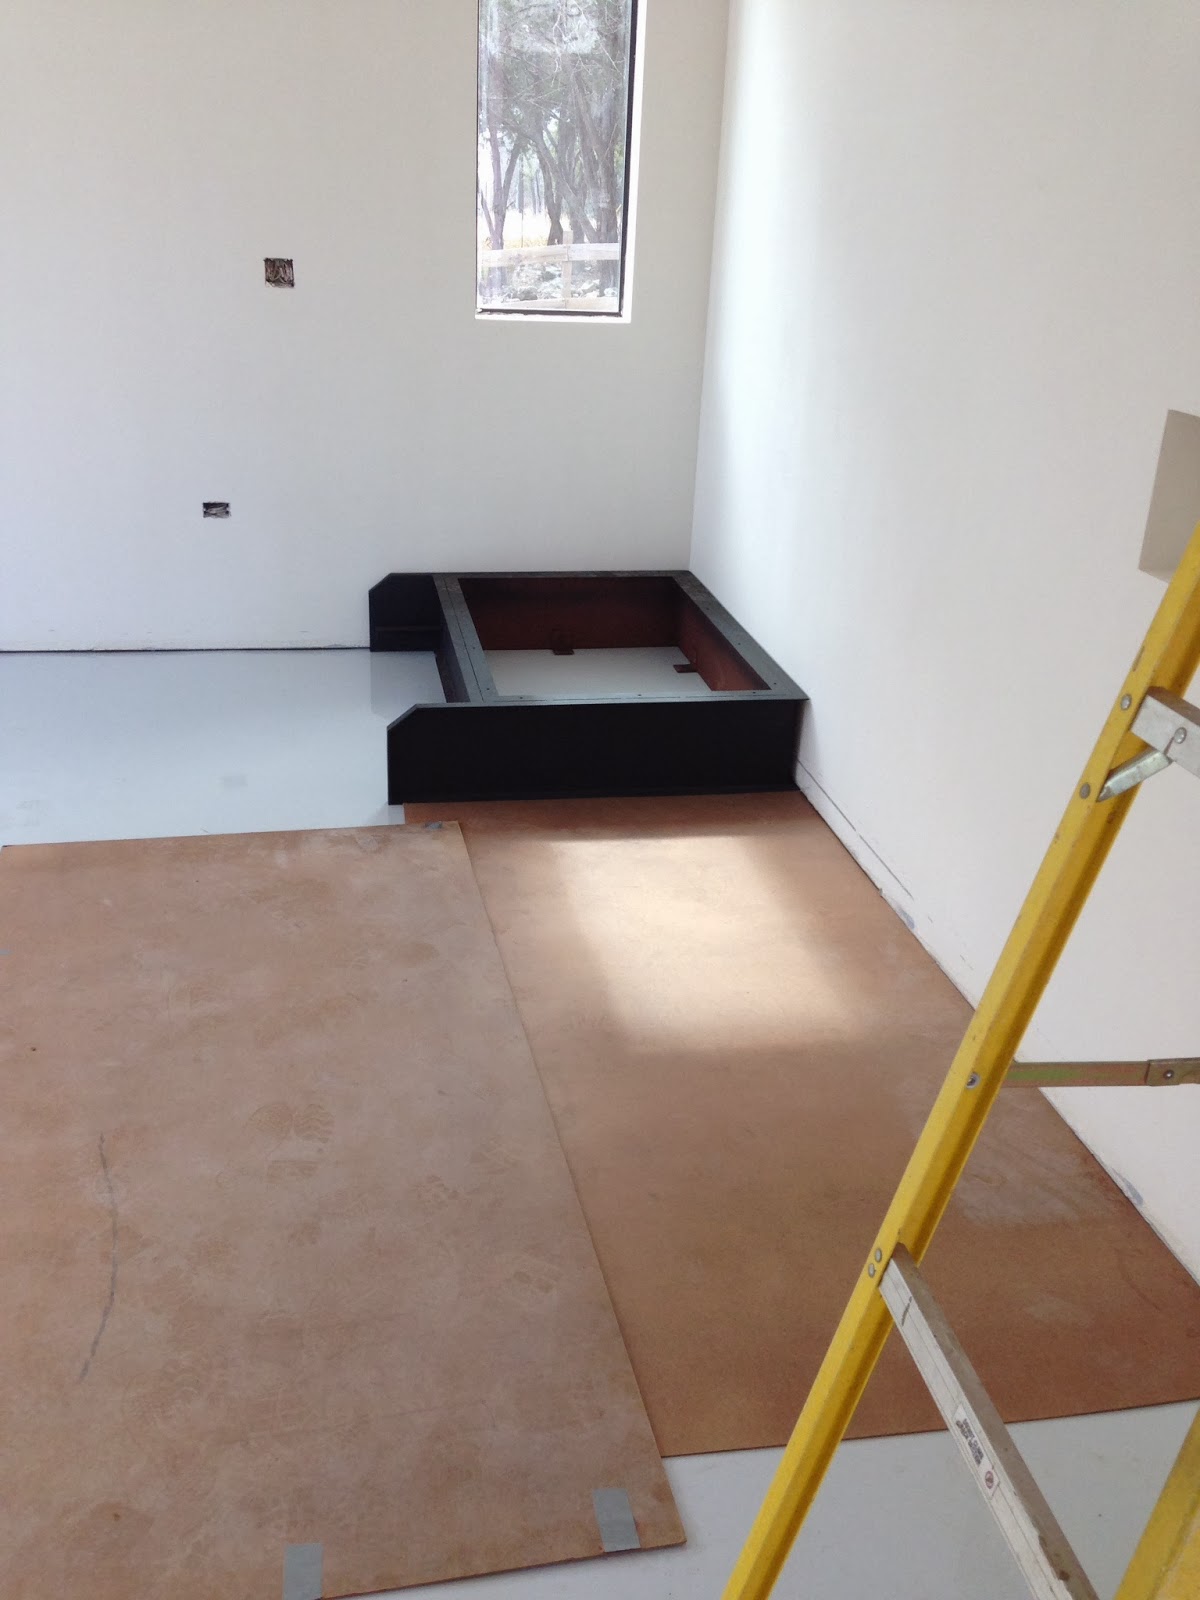
| Initial install with a 5" gap between the wall and the landing. |
You can see in the above picture that the landing does not reach the wall. Obviously this was not the design intent. The stringers are mounted to the 2nd floor header but when mounted to the landing base they fall short. We were bummed about the gap, but if this home build project has taught us anything it was to turn an 'oops' into an opportunity. So Roberta and I began making plans to have a small planter box made from 18 gauge steel to fill in the gap. We would fill it with black rocks and bamboo plants and make it look like an intentional design feature.
The second issue was more significant. The pitch from tread to tread is 7.5". This keeps us within Austin code* and gives us a safe staircase. But the first tread up from the landing was 12.5" high. You can see it in the image below. There are 23 steps in this stairway and if all of them are 7.5" apart except for one you know that there are going to be some wipe outs.
 |
| There is a 12.5" rise between the landing and first step... no good. |
I called Kevin and explained the problem with the first step rise. He listened and was having trouble understanding the problem. He stated that they had the entire thing measured and assembled in the shop and there wasn't any issue with step rise... So I sent some picture with measurements. And a day later Kevin called and said he knew what the problem was and that he would take care of it.
A couple of days later the welders returned to the scene of the crime and made good. Basically, the C-Channel stringer was cut too short. In fact, all of the steps were slightly 'downward' sloped. They cut the stringer free from the base, moved it against the wall as it should have been, and welded a 2" piece of steel to fill the gap. Below you can see the result before sanding and touch up paint. They added another bracket to create the step between the landing and the (previous) first step. And the landing was cut free from the concrete and moved against the wall as initially designed. Problem solved!
 |
| Modified Stringer to allow for additional step and placement of the landing against the wall. |
While the stairs were going up the kitchen cabinet installers began their project. So the next post will be a kitchen update. Thanks for checking in.
No comments:
Post a Comment