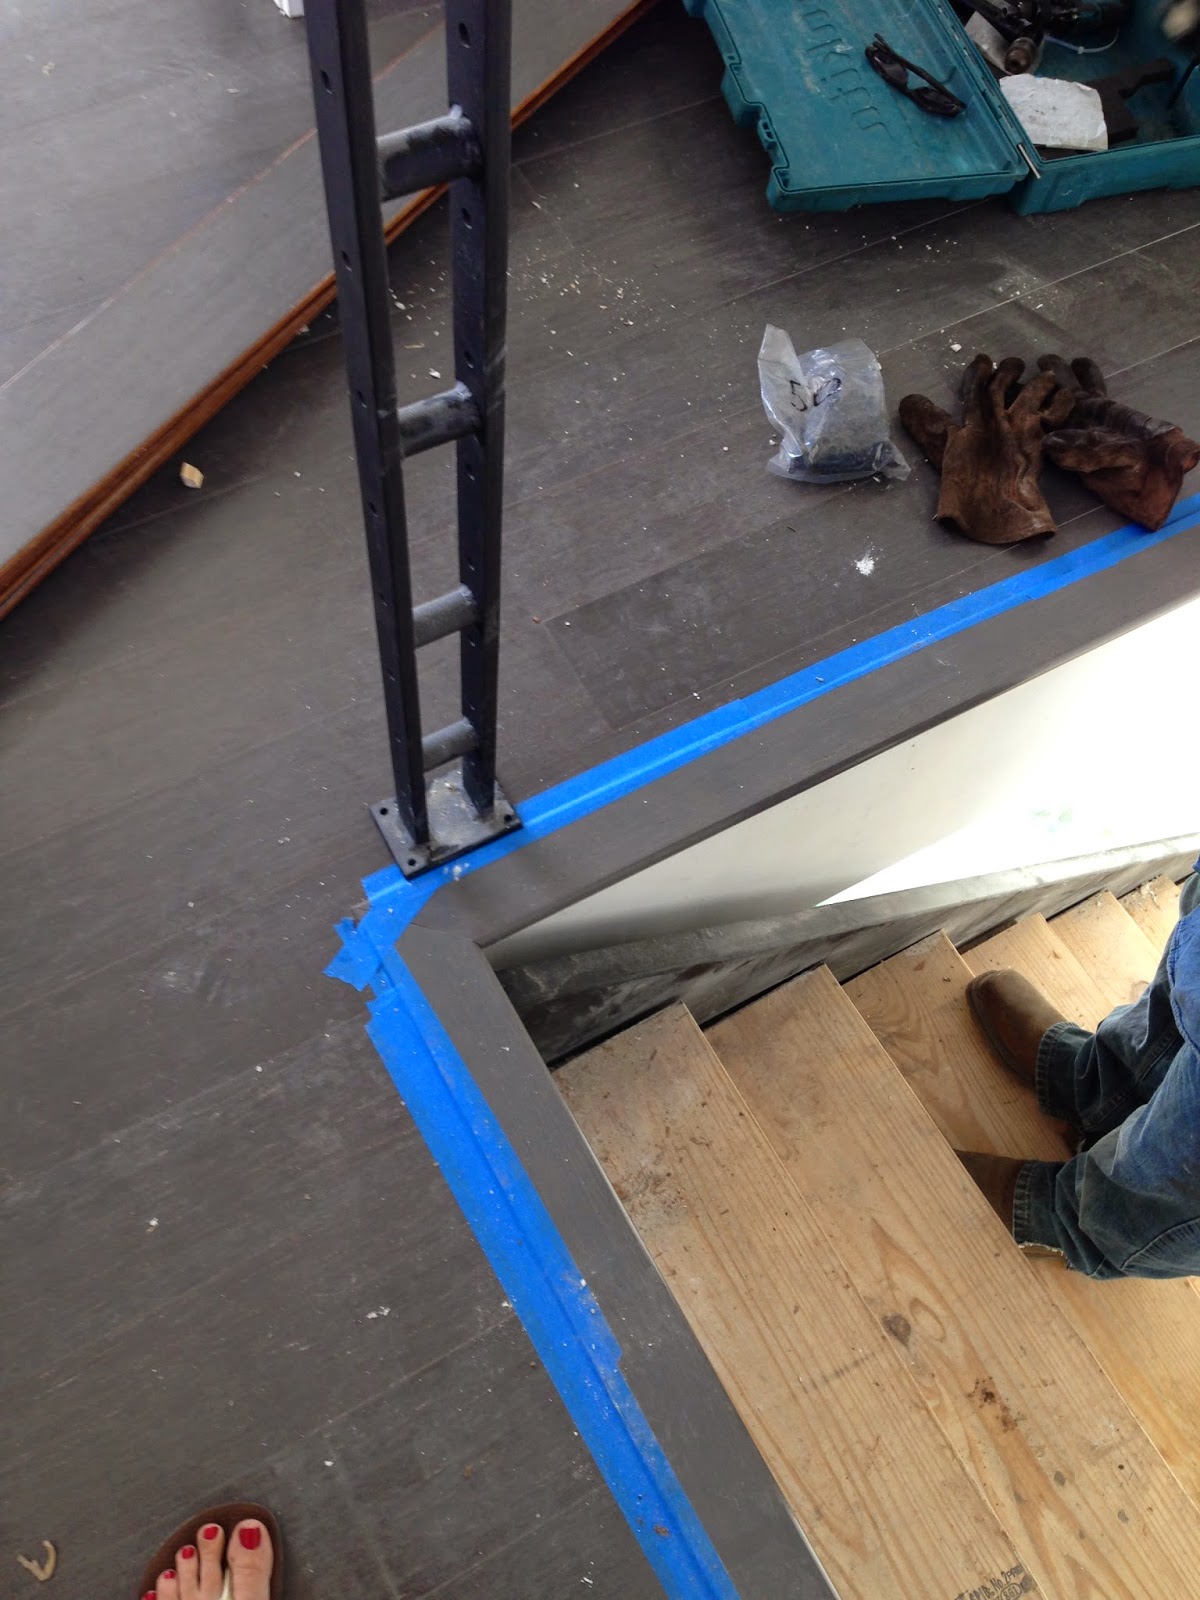
Before putting in the treads we wanted to get the railings installed. The main reason for this was to minimize heavy traffic on the treads and reduce opportunity for damage. Welding the rail to the stringers will throw some sparks, and some sweat, so best to keep the wood out of that equation.
The top rail was installed first and it only took a few minutes to discover a problem. The bull-nose trim used where the bamboo meets the stairway is about 1/8" thicker than the floor. This was not known when the welders designed the rail and the mounting plate was now half on the trim, with the other half hovering above the floor. After the requisite grumbling and fussing the welder decided to fabricate thin steel plates to slide under the mounting foot and fill the gap (although I don't have pictures of the solution for you here!). After that the stairway railing was welded into place and the stainless steel cables were routed and tightened. Everything turned out nicely.
 |
| The cute toenail does not belong to the welder... |
 |
| The upstairs rail mounted to the wall, and the foot plate is partially in the bull-nose trim |
There was one other item we had the welder address. The stairway is a long span (20 steps before hitting the landing) and when we tromped up and down it would develop a slight sway side to side. This was solved by cutting a notch in the drywall, welding a small L-bracket onto the wall side stringer and bolting it to the stud. This will be covered by the drywall crew when they come back for touch-up. Test tromping confirmed the sway was neutralized.
Now, on to the wood. What you are about to read is the story of man with marginal wood working experience (me) attempting to convert structural beams into stair treads. The process took 4 weeks because I was only available on the weekends, and even then it was after Saturday swim meets and other commitments. I would head out to the house by myself, and it was like a one man play without an audience. I dished out drama, suspense, profanity, tears, laughter, madness.... for no one's benefit but my own. Although the results were critically acclaimed by my kids, I don't think I have a future in finish carpentry.
The whole mess started with sourcing the wood. The beams can be ordered in whole-foot lengths from a few feet to impressives spans like 60 feet. I ordered mine in appropriate lengths that would fit in my truck and allow me to trim off rough ends as needed. Once it arrived I went to the builder supply store and they brought it out with a giant fork truck. It was palletized but wouldn't fit in the bed of my F150. So we had to cut the straps and load the beams into the bed by hand. This would prove to be one of dozens of times I would be handling these things. I'll tell you now, this stuff is ridiculously heavy. The spec claimed 13 lbs per linear foot.
So I loaded up the truck and moved to Beverly, Texas Hill Country, that is... And the next thing you know ol' Me was exhausted. Rain was looming large so I hustled and stacked all this stuff in the garage before the deluge started. This all happened on a Friday. The next morning we joined all three kids at a swim meet, and then I went back to begin the metamorphosis from raw material to indoor furniture, and from construction ignorance to painful enlightenment.
Check back in a couple days for Part Deux of the Stairway to Heavin'.


